How and what is puttying the walls with their own hands?
During the repair, made by own hands, inapartment or house you need to have the maximum of skills and knowledge. Experience, even if it is not yet, will certainly come in the process of repair work, since doing repairs yourself will not only have to glue the wallpaper or paint the floors, which undoubtedly also needs to be done well, but also to prepare the wall areas for further coverage, whether it be wallpaper , tiles or simple paint. In this article, we will note the basic nuances that you must know before you putty the walls, and also dwell in detail on how to make the puttying of walls with your own hands, which is necessary and how to align the walls with putty.
Briefly about shpaklevke.
Putty - a material that allows you to removeroughness and roughness on a wide variety of surfaces. With its help, the joints between the drywall sheets are removed, the cracks and irregularities are smoothed, the ideal evenness of the plastered walls is given, and so on.
Manufacturers produce the putty in ready-made ordry form, which is diluted with water. Existing types of putty: universal, finishing, facade, standard, cement, polymer, oil and others. Universal putties can be used for almost any surface, but do not forget that there are special kinds of putty, intended for use on certain surfaces and materials. Therefore, at the initial stage it is necessary to determine what kind of material will be puttying the walls with your own hands.
For leveling the walls use gypsumSpackling mixtures or mixtures on a cement basis. If there is a question about how to level the walls with putty for subsequent wallpapering or painting? Then the ideal material is gypsum putty, since after the final treatment and drying, it becomes white. It is important to remember that such a putty is only allowed to be used indoors, and its solution does not live long, so it is necessary to dissolve such putty just before work.
Cement putties, after the final treatment andthey become gray. The lifetime of this material is much larger than that of the previous species, but the gray color that is obtained may become a minus in use, so at the present time such putty is mainly used for outdoor work.
It should be remembered that the usual puttyApply a layer of not more than 5 mm. For thicker layers, use a thick layer, which can be applied with an 8 mm layer. For symbolic puttying of walls, when it becomes necessary to seal insignificant grooves, it is better to choose a finishing plaster coat, the permissible thickness of application is 1-2 mm.
How to putty the walls correctly?
The first stage is preparation.
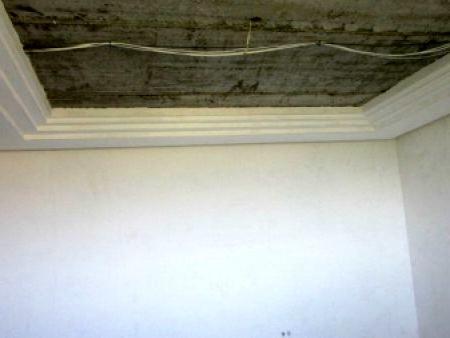
At the very beginning you need to prepare the surfacewalls, namely: remove old tiles, wallpaper or whitewash, remove stale plaster from the places where it lagged, removing all weakly holding pieces. Then we proceed to priming the surfaces of the walls. Primer is a composition that penetrates deep into the walls, preventing the development of fungi and mold in them, and also ensuring better adhesion of the putty to the wall surface.
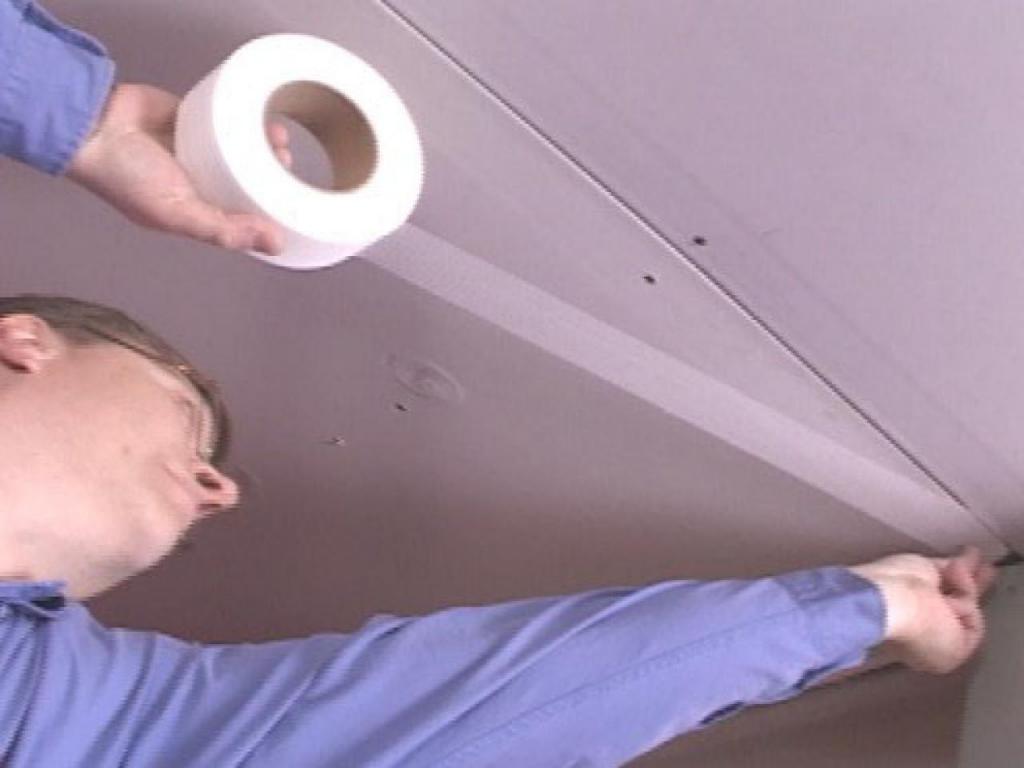
The next stage is puttying the walls with your own hands.
From the tools you need to prepare a narrow spatula andmetal trowel or a wide spatula, as well as utensils for mortar putty. A narrow spatula is used only to spread the mixture over a wide spatula, which we stretch horizontally through the putty on the wall, layer above the layer, starting from below and rising upwards. Surplus fillings from the wall must be removed. This method is applicable if the puttying of the walls with their own hands is made to the middle of the wall from the vertical angle.
The technique of applying putty on the middle of the wall will be different. The application is made from the bottom up, while the remainders are removed by semicircular movements in the same direction.
If you need to apply a second layer of putty, then you can go to it only after the first layer dries, and you sand and primetuete it.